


Product added to cart
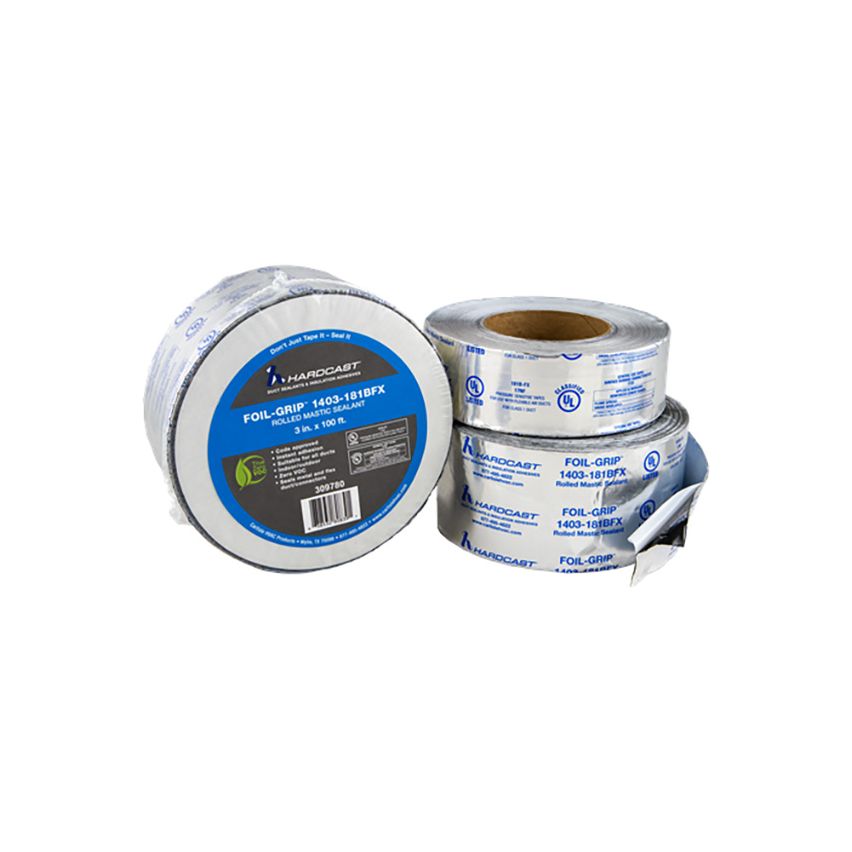
Hardcast Foil-Grip 1403-3" single roll
$80.00
In stock
SKU
IN1403-3"
Foil-Grip 1403-181BFX is a UL 181B-FX listed pressure sensitive, 40-year cycle, duct joint and general purpose rolled sealant. It is suitable for subgrade application on PVC coated duct and is ideal for replacement applications.
Foil-Grip 1403-181BFX is a UL 181B-FX listed pressure sensitive, 40-year cycle, duct joint and general purpose rolled sealant. Foil-Grip 1403-181BFX provides an instant water resistant grip to most surfaces including sheet metal, duct board, flex duct, PVC coated duct, and duct wrap vapor barriers. Foil-Grip 1403-181BFX is suitable for subgrade application on PVC coated duct and is ideal for replacement applications.
| Brand | Kimberly-Clark |
|---|
Write Your Own Review
Rectangular Ducts
Step 1: Cut Rolled Sealant to Fit
Measure the sides, top and bottom of the rectangular duct to be sealed, adding 4–6" to each end for an overlap. Cut Hardcast rolled sealant to the desired lengths using scissors. You should have 2 lengths for the sides and 2 for the top and bottom of the duct. Note: If you are sealing a stand-up seam, you will need 1 length of rolled sealant for each side of the seam.
Step 2: Inspect the Ductwork
Inspect the ductwork and clean with dry rags (use a safe cleaner if necessary) to make sure it is free of moisture, dirt, oil, grease and other contaminants before applying the rolled sealant. This is important to ensure proper adhesion of the rolled sealant.
Step 3: Apply Rolled Sealant to Top and Bottom of Duct
Take the length of rolled sealant cut for the top portion of the duct. Center the 4–6" overlap of rolled sealant over the side joint seams, being careful to allow equal amounts of rolled sealant on each side of the seam. When you reach the edge, carefully make a small cut on each side of the raised seam on the top duct. Pull the release liner off, starting at one corner and slowly peeling back 10–12", and press the rolled sealant down and over the raised seam to seal the top. When you reach the other side, repeat the cut and press the overlap down the other side. Repeat this process for sealing the bottom of the duct.
Step 4: Apply Rolled Sealant to Sides of Duct
Take the length of rolled sealant cut for one side. Remove the release liner and center the rolled sealant over the joint seam, leaving a 4–6" overlap at the top and bottom. Press the rolled sealant down firmly over the joint seams. At the top and bottom, make 2 small cuts (described in Step 3) and press the overlaps down. Repeat the same process for sealing the other side of the duct. Note: If the rolled sealant is torn, patch with a piece of rolled sealant that is cut to size.
Step 5: Ensure Final Contact
To ensure that the rolled sealant is firmly adhered to the ductwork, press firmly using finger pressure or Hardcast squeegee over all areas, especially the joint seams, screw heads, corners and overlaps, being careful not to puncture the rolled sealant. Note: Maximum adhesion attained 24 hours after application.
Circular Ducts
Step 1: Cut Sealant to Fit
Measure the circumference of the duct to be sealed, and add 4–6" for an overlap. Cut Hardcast rolled sealant to the desired length using scissors.
Step 2: Inspect the Ductwork
Inspect the ductwork and clean with dry rags (use a safe cleaner if necessary) to make sure it is free of moisture, dirt, oil, grease and other contaminants before applying the rolled sealant. This is important to ensure proper adhesion of the rolled sealant.
Step 3: Apply Rolled Sealant to Ductwork
Take the length of the rolled sealant and apply the length to the top of the duct to be sealed. Be sure to center the rolled sealant over the seam and allow a minimum of ½-inch of the rolled sealant on each side of the screwheads. Press firmly using finger pressure or the Hardcast squeegee to ensure complete contact with the metal surface. Slowly peel off the release liner as you wrap the rolled sealant around the duct. Press firmly as the release liner is removed. When the overlap point is reached, crease the seam where the rolled sealant overlaps itself. Again, use firm pressure to ensure contact.
Step 4: Ensure Final Contact
To ensure that the rolled sealant is firmly adhered to the ductwork, press firmly using finger pressure or Hardcast squeegee over all areas, especially the joint seams, screw heads, corners and overlaps, being careful not to puncture the rolled sealant. Note: Maximum adhesion attained 24 hours after application.